Originally posted in January 2009, this piece is one of the ‘new’ technique pieces that I published around that time.
The use of the silhouette as a deliberate ploy in photography was once branded as “the last refuge of the desperate photographer” – a label that I have always contested. I have used the technique many times when I have not been allowed to identify the subject of the picture (usually children or vulnerable adults whose identity needs to be concealed) but I also use it when there is a need for an image with real impact. Creating a silhouette with flash isn’t difficult, using the technique sparingly can be.
Once you have made the decision to try a silhouette using flash, there are a few basics that you need to consider:
- The subject must have little or no available light on them
- You must have a background that can be lit easily
- If the background has important detail you need enough depth of field to keep both subject and background sharp
- The subject to be silhouetted should be in sharp focus and have a distinct outline
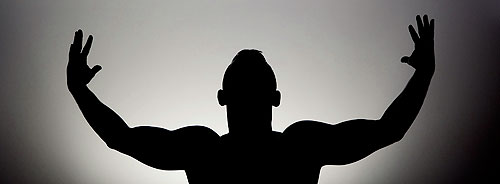
Once the basics are in place, then there are creative decisions to be made such as composition, placement of flash. This first example is of a member of my family who spends time at the gym so that he can show the world his physique. We were chatting one day and he said that he wanted something striking for the top of his Facebook page. I showed him a couple of ideas using silhouettes and we shot this…
©Neil Turner, October 2008
I was shooting with a Canon EOS1D MkII and a Canon 24-70 f2.8L lens. I wasn’t able to move myself around too much without shifting furniture and would have preferred to be shooting nearer the telephoto end of the range to deliberately remove any clutter. As it was, the lens was at 34mm (add the 1.3x factor and you get a 44.2 full frame equivalent field of view) and I cropped the image to the “letterbox” shape.
In this case I used the subject himself to mask the flash which was a Canon 550ex speedlight triggered in manual mode by a Canon ST-E2 transmitter. The first few frames had the background (a wall in my dining room) pretty evenly lit, which was a bit boring. The background is unimportant in this image and so the depth of field doesn’t matter too much. The exposure was 1/90th of a second at f13 on 200 ISO. I don’t recall why the exposure was 1/90th instead of 1/250th to utterly eliminate any available light but in a normal situation I would have gone for 1/250th.
I have some grid attachments for my Lumedyne flash heads and so I taped one of those over the flash to give me more of a circular pool of light. I aimed the flash slightly upwards so that I achieved the effect that you see above. It’s a very simple image that works for the intended purpose very well.
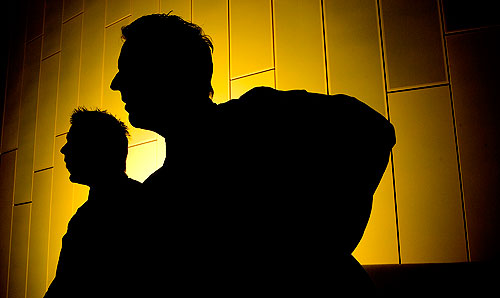
The second example is from a story I shot for a magazine about two brothers who work together at a school in London. I had shot hundreds of images of the buildings and a lot of portraits of the elder brother who is the boss. I had a lot of more conventional portraits of the two of them together as well so I decided to try this two person silhouette which shows the special cladding used throughout the central core of the building.
©Neil Turner, September 2008
The cladding itself has a yellow colour and so I decided to place a Lumedyne flash unit directly behind the seat that they were sitting on. It was very close to the wall, which give far steeper fall off of the light and a more dramatic outline. I find that the best place to focus for a silhouette is on the edge of the subject rather than the normal eye or face. I was shooting with a 16-35 f2.8L lens on a Canon EOS1D MkII at the wide end of the scale and the exposure here was 1/250th at f9.5. The flash was dialed down to 1/8th power and at that aperture I had easily enough depth of field to get the brothers both sharp and to have easily enough detail in the background.
Magazines seem to like this kind of image if they have a spread to fill or they want something a bit different for the contents page. You don’t always have to use flash to create silhouettes but the conditions required in nature to get a good one aren’t easy to arrange! Low level winter sunshine here in the UK is good and of course dusk and dawn without cloud cover anywhere in the world are great. I have also used illuminated signs and billboards when they are bright enough but for the sheer degree of simplicity and control, these flash-lit examples are hard to beat.
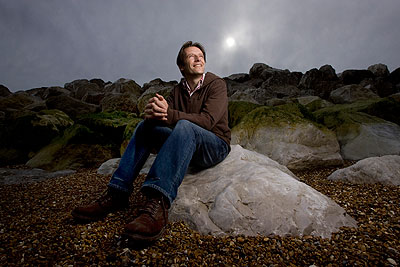 I was born by the sea, I live by the sea and I really enjoy shooting portraits by the sea. This example was of a young teacher who has moved his family to the coast to get a better way of life and he had given an interview to the paper about the way he lives – cycling to work, spending time with his family and generally making the most of the beaches in his area. My brief was simple – shoot a nice portrait on the beach!
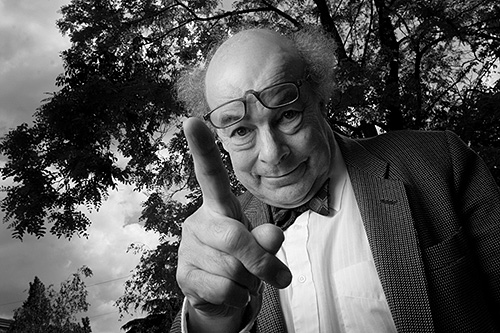
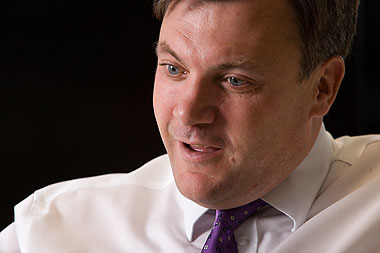 I have to shoot a lot of portraits during interviews and there have been several technique examples on this web site about the techniques and decisions that need to be made when doing that kind of work. This one isn’t about lighting set-ups or pre-planning – this is simply about seeing an angle and making the most out of it. This gentleman is Ed Balls: Member of Parliament and Secretary of State for Children, Schools and Families in Gordon Brown’s Government. The reporter had a short time to ask him questions from our readers and to conduct an interview around his responses. I had to shoot with my back to a glass wall and against the light. I set up a Lumedyne with a simple shoot through umbrella almost directly opposite the Secretary of State and behind the reporter. I had limited space in which to move and shoot.
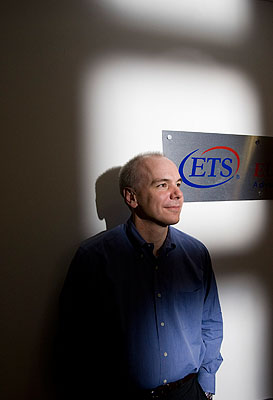 I was inspired to share the “how” for this picture because of a comment from a colleague who said that I had been “lucky to find such a nice pool of light”. I was amused, annoyed and complimented all at the the same time because I created this light and he obviously thought that it looked as if it was a natural effect. Much of the best lighting looks as if it were not lit… so how was this one achieved?
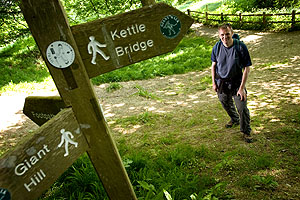 The great thing about creative flash is that you can play around and pretty much make it up as you go along. Learning from each set up as you go isn’t just a useful side effect it is the whole point. Just recently I have been hiding the flash in the picture a lot. This basically means that the light souce isn’t off to the side of the frame – it’s strategically hideen somewhere right there. I use doors and walls, poles and posts and even other people to mask the location of the flash, but it is there. This portrait of a teacher who does a lot of walking in the hills near his Dorset home is a useful case study. We had already shot quite a few really nice images of him using flash to overpower the daylight (see technique example here) and one of him walking without flash that you can see below:

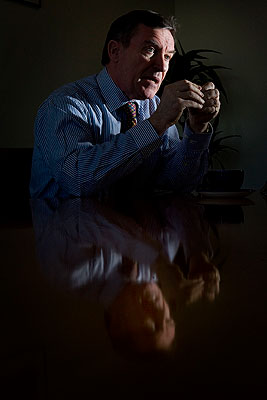 It has been a while since I added any new technique pages to the site so here is one that I have been meaning to do for quite a while. The idea here is to have two seperate lighting set-ups for one interview portrait without having to constantly move around the room adjusting lights. This interview was with a senior businerssman who chairs a body that decides how much teachers’ pay rises will be each year. The reporter wasn’t all that comfortable with me shooting through the interview but it was what the picture editor wanted, so that’s what I did. This job required a bit of quick thinking so that I could get two different set-ups in place.

