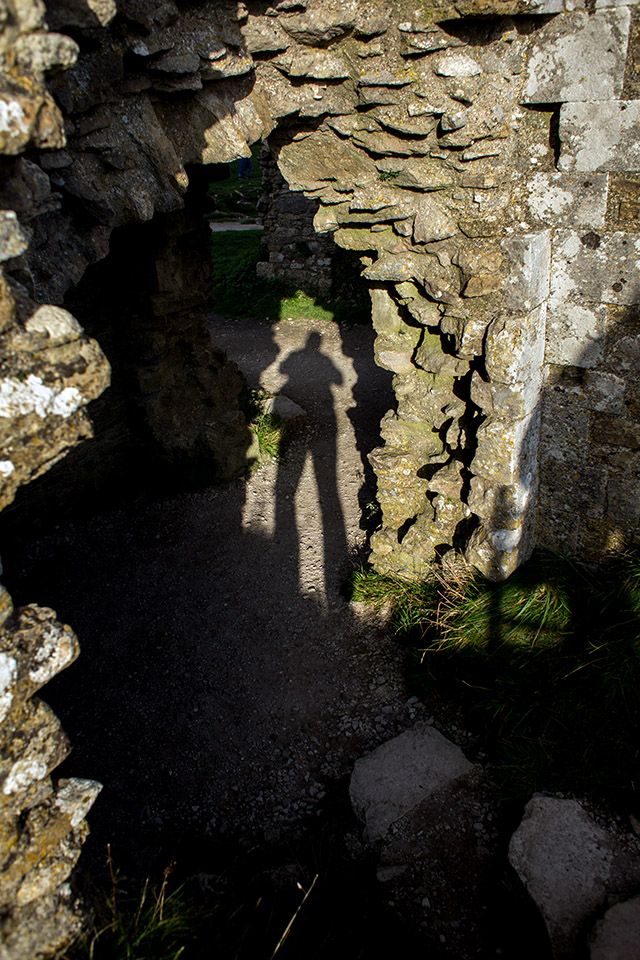
©Neil Turner, October 2014. Shooting my own shadow with a 28mm f1.8 lens.
Talking and writing about photography on the web seems to have become a whole series of two sided contests. Sometimes it is interesting and a genuine dichotomy (Nikon Vs Canon, Mac Vs PC) where there are absolute direct comparisons to be made and a range of technical and personal preferences to be considered. At other times they are silly (film Vs digital, DSLR Vs mirrorless) where it is comparing bananas with pineapples. Somewhere in the middle of these two extremes sits the Zoom Vs Primes debate. Everyone has their own views and everyone’s work is different.
An amazing 14 years ago (and 14 years into my professional career) I wrote a short piece about choosing lenses and why you might like zooms for some jobs and then have the ability to choose a focal length for others. It wasn’t all that long before then that I’d had to use primes all of the time because zoom lenses weren’t up to the job in terms of quality. For me it all changed in 1995 when I switched to Canon EOS for the first time and the original 70-200 f2.8L and 28-70 f2.8L lenses which, along with the auto focus on the EOS1N, changed everything for me. For ages the only Canon primes I had were the 20mm f2.8 and 300mm f2.8L and the vast majority of my work was shot between 28mm and 200mm.
I’ve spent a lot of my career in press pens and fixed positions where I cannot move and where it made sense to use zooms lenses to compose but weighed against that I’ve also done a lot of work where I have a lot of freedom to move around and can position myself so that I don’t need to use a zoom to fill the frame – I’ve been able to “zoom with my feet”. Here’s what I said in 2000:
There are two ways that you can choose which of your lenses to stick on the camera:
- You can say “there’s my subject and here I am, let’s see which focal length on my zoom works best”. Sometimes at sports matches and political events you have your position and that is that, or…
- You could say “I want the effect that my experience tells me a 28mm lens will give me so I’ll select that focal length and move to the right position to make that happen”.
Either of these could be a valid option and, in many cases, the first is decided for you by circumstance. Most news photographers use zoom lenses because it makes sense to have fewer lenses when you are never quite sure what kind of work you will be doing on any given day.
Personally, I use a combination of both approaches. If a position forces me to choose a certain lens then I’m with option 1. Given complete freedom to shoot what I want I’d go with 2. More often than not I’ll go with, say a 24-70mm lens intending to shoot at the 24mm end and get in a position to shoot that way. I will shoot several frames and then start to move around, zoom in and out and shoot a variety of similar images, each with subtle differences. I try to make a point of shooting with just about every focal length available to me on every job. Sometimes I am right about lenses first time but often I’m not. What had seemed like an obvious task for the 28mm ends up being a spectacular 200mm shot and vice-versa but the result is that you often end up with images that are just that bit better.
I nearly always shoot on location so I cannot preplan every detail. Going equipped with a range of lenses is vital. Your choice of lens will depend on so many questions running through your mind. How is this image going to be used? Big, small, upright, horizontal, front page? Double page, back page, website, magazine or newspaper? Is it going to have copy running over it? Will it have more than one usage?
If I cannot answer any or all of those questions, then I’ll shoot every variation I can. Shall I start with a long lens, if it’s a portrait then being further away may relax the subject and I’ll get in with the wide when they are more comfortable. Background, what’s behind them? Can I use a change of lens get rid of a poor background?
Answering self-set questions and making compromises is the key to news photography. Choosing the right lenses helps to reduce the number of technical compromises that you are forced to take, giving you more time to make the creative compromises that you want to make.
So has anything changed in the intervening years to make me come back and have another look at this debate? Yes – several things:
- The resolving power of the camera chip is now so great that lenses need to be sharp to get the most out of that resolution
- The amount of pixels crammed onto a chip means that you can “zoom by cropping” in a far more aggressive way that you could ever do before and still end up with a file easily large enough for a wide range of uses
- Zoom lens quality has improved
- The choice of super-high quality prime lenses has become far wider
- The quality of digital images means that how a specific lens renders out of focus parts of the frame has become an issue for a lot of people
- Photographers are constantly seeking ‘an edge’ and to challenge themselves to see their work differently in an era where we all have much the same gear
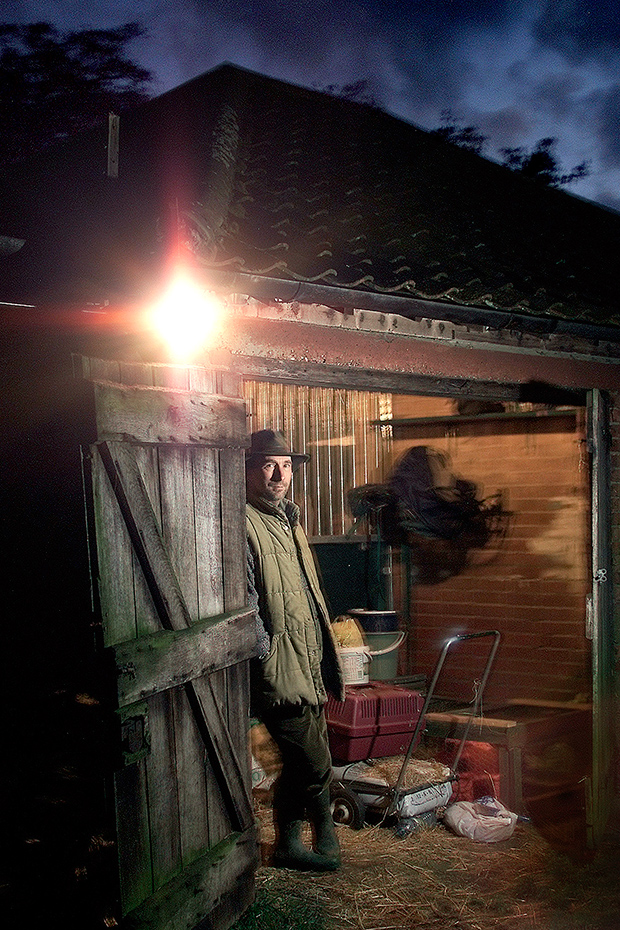
This debate has raged and it has ebbed and flowed. I’m not necessarily talking about how the worldwide photographic communities have seen it here, I’m talking about my own psyche and what happens every time I pack a bag to go and shoot some pictures. I love the discipline and the way that having three or four prime lenses in a bag makes me think but I have the it when I have primes and cannot move around as much as I’d like to. Short of taking three zooms and four primes on every job (I don’t have an assistant and my fifty year old spine would buckle under the weight) it is always going to be a compromise. Today I’m shooting an editorial portrait where I have plenty of time and it will be just me and the woman that I’m photographing so I’ve packed the primes. Yesterday I was at a job where moving around wasn’t an option and I went with just two zooms.
My internal debate doesn’t end there though. I am always looking back through my work and being self-critical and, if I’m being entirely honest with myself, I am probably a better photographs with zoom lenses. There, I’ve said it. Much though I love using a 135mm f2 I shoot better pictures eight times out of ten with a 70-200 f2.8. The same goes for the 28 and 50 against the 24-70. How can I ever hold my head up in the company of some of my favourite photographers who never use zooms now? Luckily they are all people who don’t care what you use as long as you get the pictures and the rest of my favourite photographers are shooting 99% of the time with zooms anyway.
It turns out that this is a silly debate after all because we are photographers whose goal is to produce the best and most interesting, creative, exciting work that we can within the bounds of what is possible and what is required. I’m going to persevere with my little bag of primes because I want to. When in doubt it will always be the zooms for me – aren’t I the fortunate one to have the choice?