It’s amazing how often a casual conversation or a quick exchange on a Facebook group can spark a train of thought. Earlier today a comment by a friend and fellow photographer about how a photo sharing site had made him look around him and start taking pictures for the love of it again. I agreed whole-heartedly and began to think about uploading a few more pictures here. That moved my train of thought onto the various reviews and updates that I’ve written on this blog and elsewhere about the Fujifilm X20 that has been my almost constant companion for the last 11 months. So what I decided to do was to say a few words to summarise my experiences with this camera and add some pictures shot in the last couple of weeks.

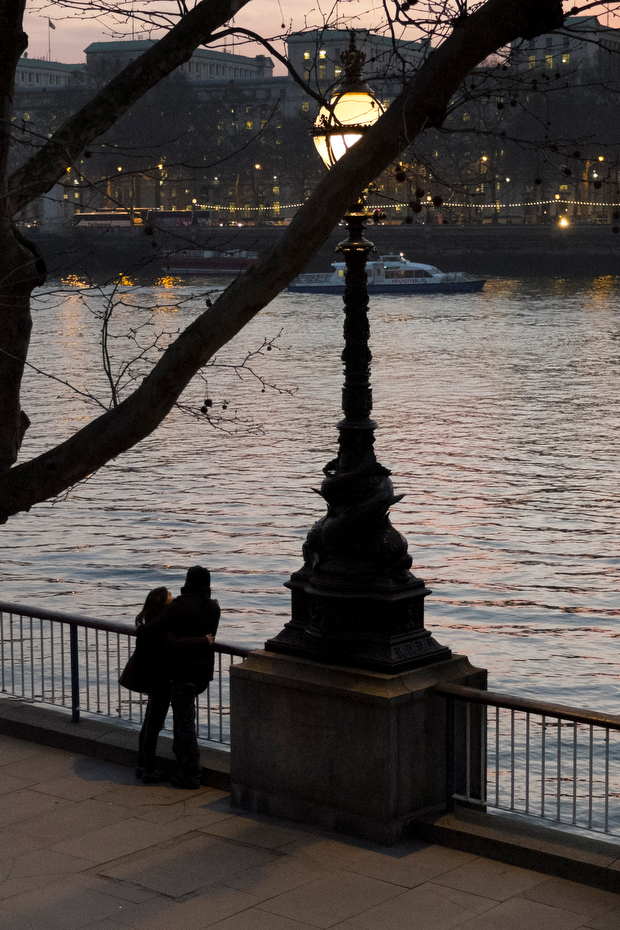
©Neil Turner, March 2014. The photographer’s shadow forms part of the scene as an elderly couple walk along South Bank of the River Thames in London.
In general, my opinions about this camera have barely changed since I posted the first update back in mid April 2013. Given the product cycle that Fujifilm seems to gallop through the X20 is probably about to be superseded anyway but I thought that I’d offer some advice to make this camera (that I still like very much) better if they want to bring out an X30.
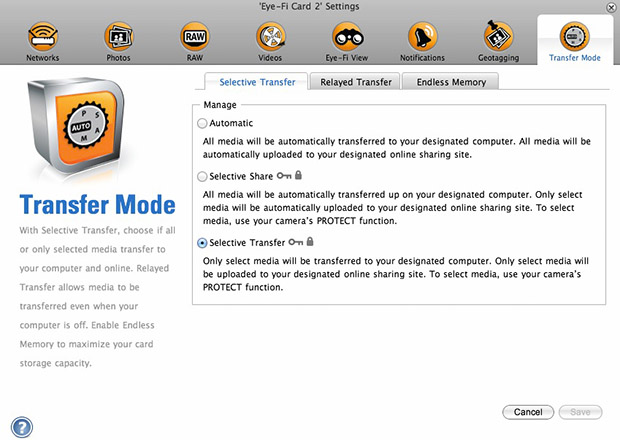
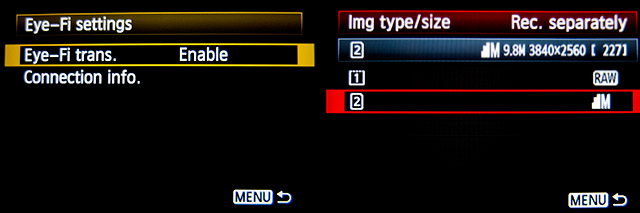
- The battery life has to improve. Despite doing everything possible to limit power drain I get through two batteries a day when shooting with ordinary SD cards and up to four batteries a day when I’m using one of my Eye-Fi cards. This makes a cool and convenient camera a lot less convenient and pushes up the cost of ownership – even if you go for third party spare batteries.
- Start-up delay. About once in every third time I switch the camera on it takes three or four seconds to adjust and get the exposure correct. The first picture is often three or more stops over-exposed.
- Autofocus at the telephoto end of the range. My camera sometimes refuses to auto focus when the lens is zoomed all the way to the 112mm equivalent end of its range.
- The review time options for looking at images you have just shot are too restrictive. There are no options between 1.5 seconds and zoom (unlimited).
- The built-in flash isn’t compatible with the lens hood – you get shadows and so to use that function you need to remove the hood.
- The video isn’t great – but I didn’t buy this camera to shoot video.
On top of all of that it would be great if the focal range went from 24-120, the camera had two SD slots and if there were lens correction options for Adobe Camera RAW because at the 28mm end there is the slightest barrel distortion.
This is a great camera and I love using it. I am seriously tempted by the X100S too. Having borrowed one for an extended period, I would very much like to own one. Fujifilm have done a great job with their X-series cameras and they should be very proud of the effect that their cameras have had on a lot of very old and very picky professionals (like me) who all grin like idiots when using the kit. So now, without further ado, here are a few more recent X20 images for you…
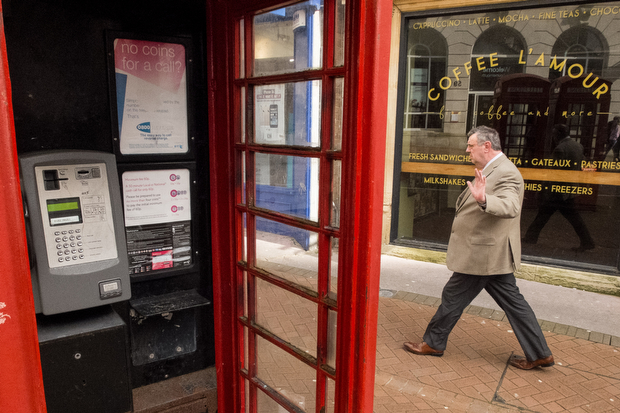
-

- No pictures please. Bournemouth town centre
-

- Shadows lengthen on a sunny day in Bournemouth

-

- Woman rescuing her dog from the waves at Fisherman’s Walk

-

- Child playing in the waves on a sunny day in March

-

- Family on the beach in early March

-

- Woman with dog on the beach at Fisherman’s Walk

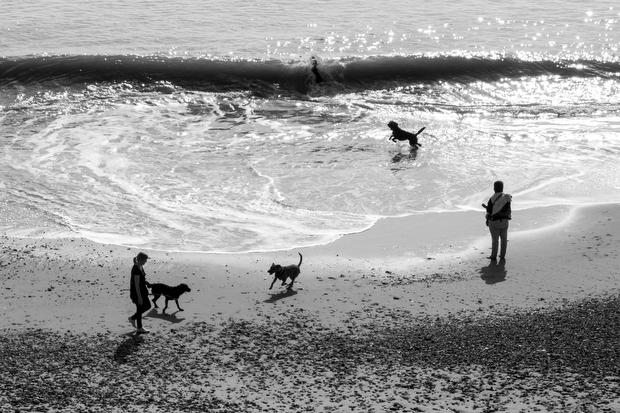
-

- Dogs and their walkers on the beach at Fisherman’s Walk
-

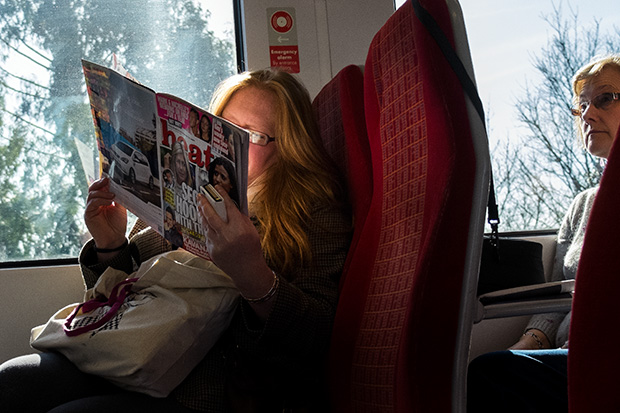
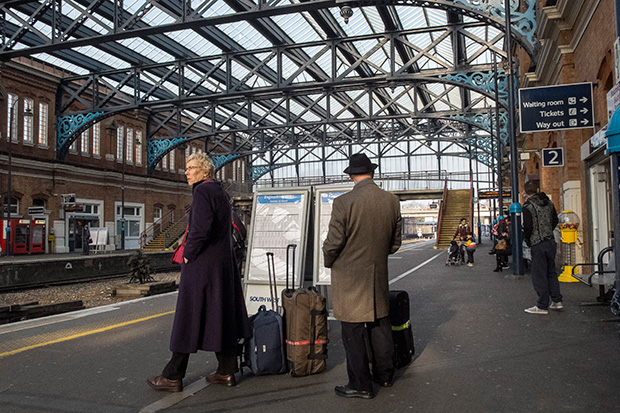
- Elderly couple waiting for their train on Bournemouth station
-

- The view from the train across to Southampton’s container port

-

- Young women ignoring a donut stall on Waterloo station

-

- Stylish tourists pass under Charing Cross Pier in London

-

- Police launch following a pleasure boat on the River Thames

-

- Shopper in the tunnel between Embankment and Charing Cross stations

-

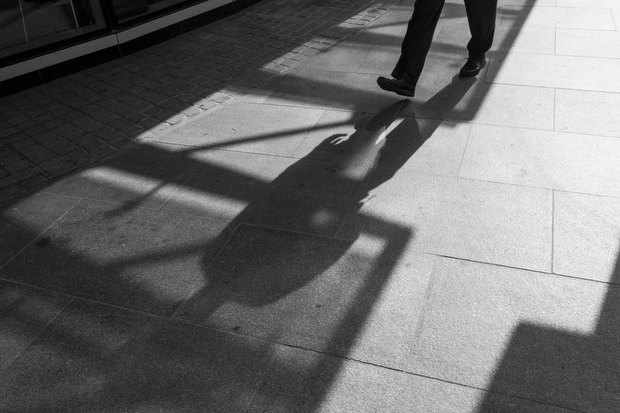
- Shadows outside University College Hospital in London
-

- Young couple on the South Bank of the River Thames
-

- Carousel waiting for riders on the South Bank

-

- Commuters heading home across the concourse at The Royal Festival Hall

-

- Bournemouth town centre 70% off sales poster

So there you go Fujifilm… bring on the X30…