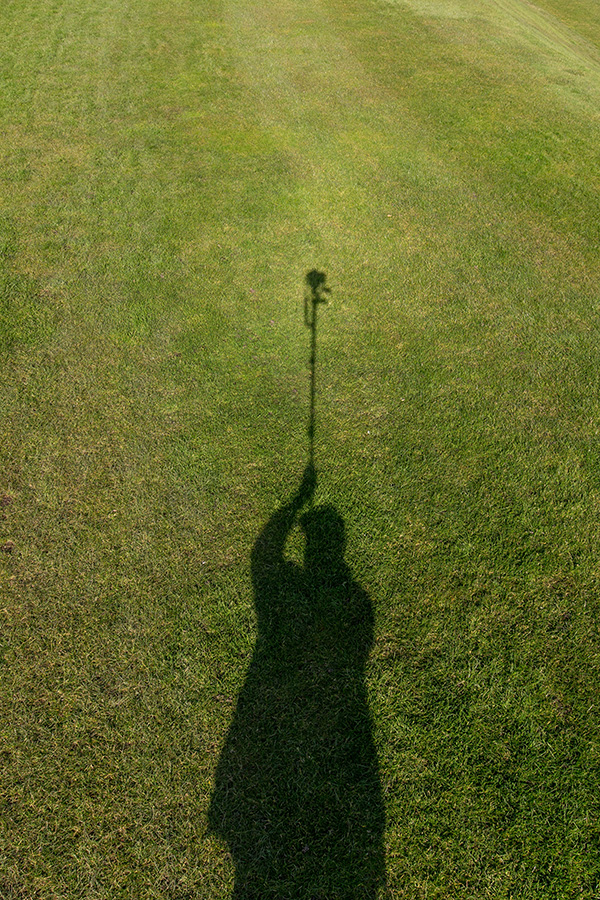
My shadow using a monopod to get a high angle picture. March 2016 ©Neil Turner
I was out shooting a job yesterday and needed to get quite a bit of extra height. The best place to shoot the picture from was on the side of a grassy hill which was very wet and the client’s health and safety policies meant that it wasn’t going to be easy to use a step ladder – whilst building a tower was outside the budget. In an ideal world a proper pole-cam or even a drone would have been the best option but the light was right and I needed to improvise.
Having used the Canon EOS6D as a remote via their iPhone app once before I was reasonably confident that my idea would work but the app has been replaced/updated and it meant learning the new one on the job. I had a basic monopod, a tripod head and a Manfrotto Super Clamp in the car but no proper way to attach the phone to the monopod to use as a viewfinder and remote release. With a proper pole-cam you rest the base of the pole on the ground and it is pretty stable. You also have a cradle for the phone or even a tablet if you want to go bigger. I had to tuck the foot of the monopod into my belt to get enough height but I had about an hour so I went into full “1970s Blue Peter” improvisation mode.
The cradle that holds my iPhone in my car was pressed into service and that attached very easily to the Manfrotto Super Clamp. Having extended the monopod to its full height I then attached the clamp to the second stage of the monopod (about eye-level when the whole thing was in use I guessed). Then I stuck the tripod head onto the monopod tilting down a little and put the EOS6D with a Canon 16-35 f4L IS lens on it. Whilst all of this was being done I was downloading the latest Canon Camera Connect app from the Apple App Store.
After a few minutes messing with settings I had the system working. I could use the phone as a viewfinder and a remote release for the Canon DSLR and I set about shooting the pictures without leaving the ground myself. After a minute or two I decided that I needed more height to look down on the subject a bit more and so I tilted the tripod head down a little and when I put the camera back into the air the foot of the monopod was resting on my chest. Even with a camera as light as the 6D I couldn’t hold it up for more than a minute at a time but we got the shot and I only got pointed at (and laughed at) by a small handful of passers-by. I wouldn’t want to have to work this way very often but, having just edited and uploaded the pictures, I know that I have a “Blue Peter”** solution that works.
** Blue Peter was required viewing as a child growing up in the 1970s. They always showed you how to make useful things from odds and ends lying around the house.
 There’s no getting away from two facts: